
Interlocking Sleeve Replacement
offdutyflagpoles.net · (765) 562-8768
To replace an interlocking sleeve, lower the flagpole all the way and pull it out of the ground sleeve. Remove the flag from the spring clips and set it aside. Lay the pole on a surface that won't scratch it.
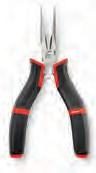
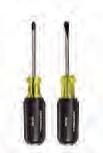
Tools needed: needle-nose pliers, flat and Phillips screwdrivers.
Optional: power drill, rubber mallet.
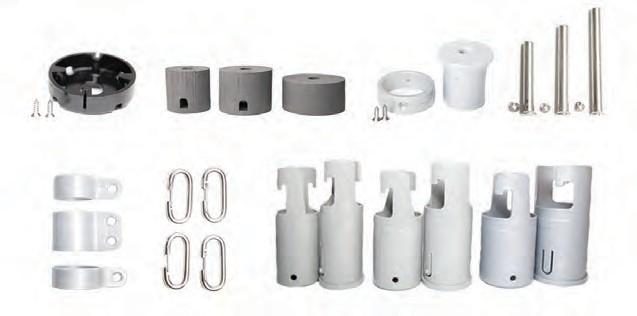
Step 1. Remove the gold ball topper, spring clips, swivel rings, and the top cap and retainer ring.
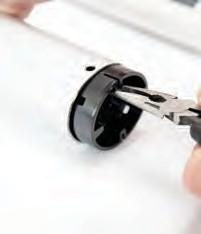
Step 2. From the bottom, remove the screws holding the black base cap. Use needle-nose pliers to remove the base cap and the bottom cushion.
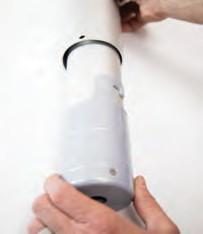
Step 3. Slide all sections of the flagpole out through the bottom.
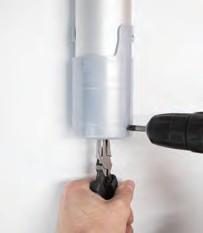
Step 4. Find the broken interlocking sleeves and replace them with a new set. For sleeves at the bottom of a tube, use needle-nose pliers and a screwdriver (or power screwdriver) to remove them.
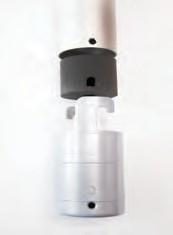
Step 5. There is a cushion inside the bottom of the tube. Remove it, then put it back before attaching the new bottom interlocking sleeve.

Step 6. For sleeves at the top of a tube, use both screwdrivers to press in the tabs holding the sleeve so it can be removed. This step may take a second person.
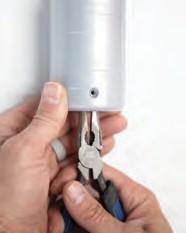
Helpful hint: if the post fastener won't line up with the holes in the new sleeve and tube, try putting the fastener in from the opposite side.
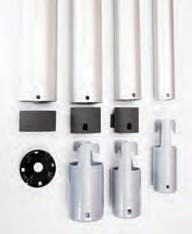
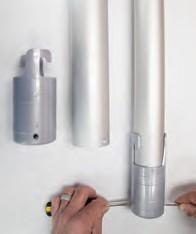
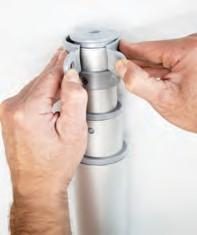
Step 7. Reassemble the flagpole. Insert the smallest tube through the bottom of the next largest tube. Extend the top section and test that the interlocking sleeves work. Repeat, putting the smaller tubes through the bottom of the next largest section, until all sections are inside the largest one and every joint has been tested.
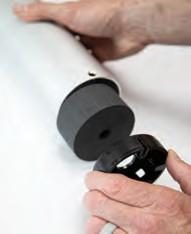
Step 8. Put the bottom cushion back into the bottom section and re-attach the black base cap. Re-install the top cap and retainer ring, then the swivel rings and spring clips. Finally, put the gold ball topper back on and re-hang your flag.