
Halyard Conversion Kit
offdutyflagpoles.net · (765) 562-8768
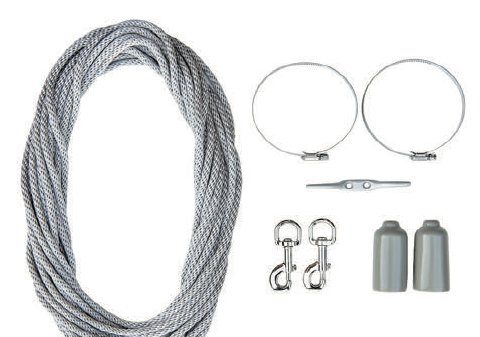
Kit includes:
- Halyard: 32' (15' and 20' Light Duty poles) or 42' (20' and 25' poles)
- 6" cleat
- 2 nickel-plated snaps
- 2 vinyl snap covers
- 2 adjustable clamps
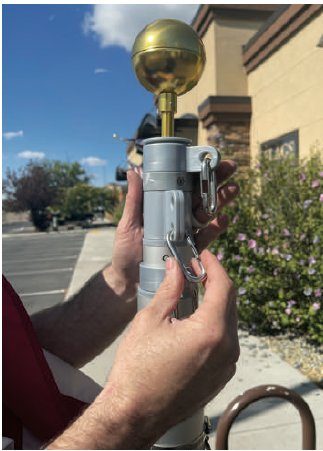
Step 1. Remove the spring clip and double swivel ring (Figure 1).
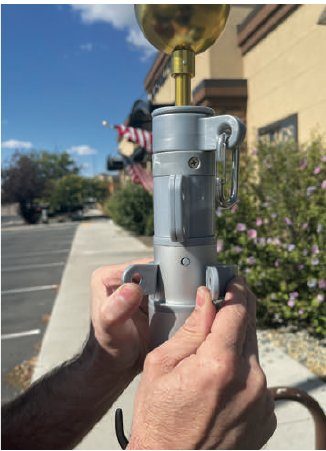
Step 2. Remove the spring clip and large (bottom) swivel ring (Figure 2).
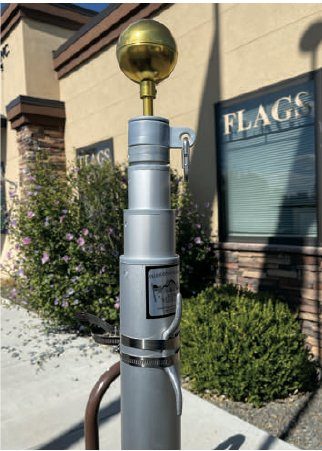
Step 3. Attach the cleat to the base of the flagpole with both clamps. Position the cleat just under the sticker on the flagpole (Figure 3).
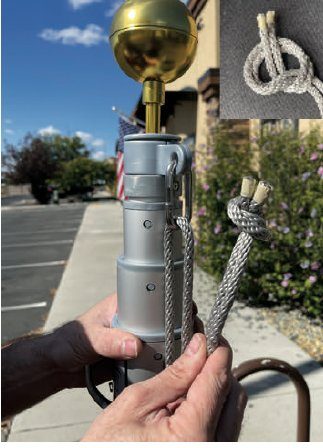
Step 4. Slide the halyard through the spring clip and tie the two ends of the halyard together (Figure 4).
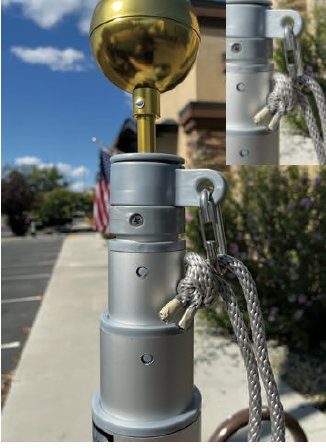
Pull the halyard down until the knot reaches the spring clip (Figure 5).
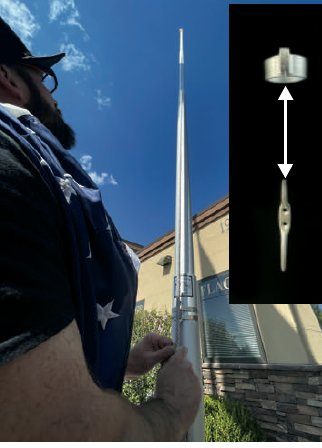
Step 5. Raise the flagpole to full height. Make sure the top swivel ring and spring clip line up with the cleat (Figure 6).
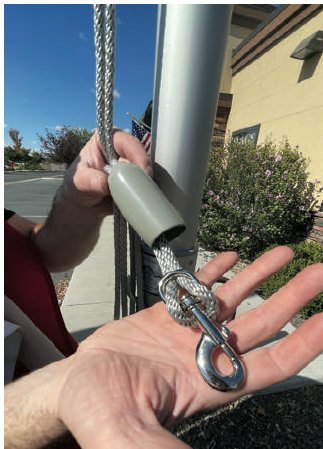
Step 6. Build the connection to the flag's top grommet (Figure 7), using Figures A–E below.
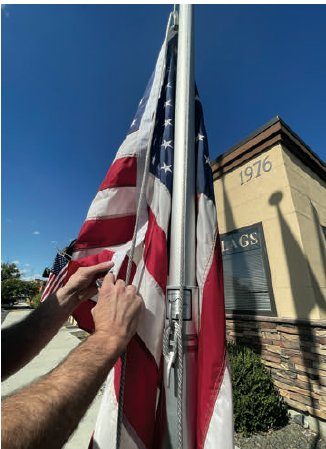
Step 7. Raise the flag until the bottom grommet is near eye level. Loop the halyard side closest to the pole around the cleat (Figure 8).

Step 8. Build the connection to the bottom grommet the same way as step 6. Step 9. Raise the flag to the top (Figure 9).
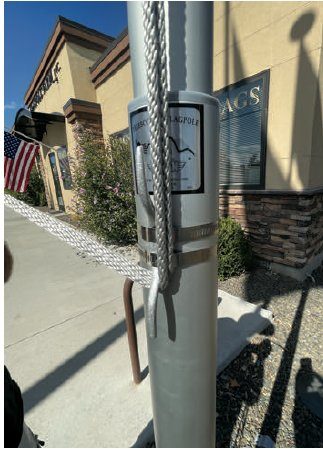
Step 10. Secure the halyard to the cleat: pull it down tight (Figure 10)…
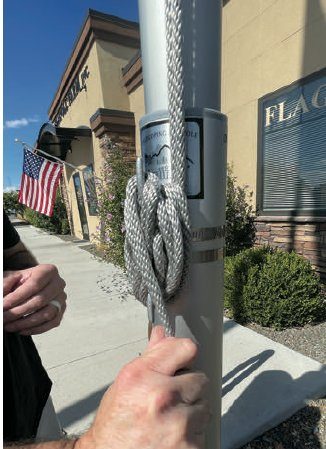
…and loop it around the cleat in a figure-8 pattern (Figure 11)…
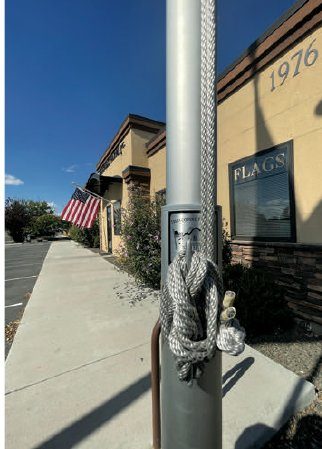
…until it is secure (Figure 12).
Connecting the snap (Figures A–E)
Fold a 6" loop in the halyard near its bottom (A). Thread the loop through the vinyl snap cover (B) and attach it to the swivel snap (C–D). Then clip the open end of the swivel snap to the flag grommet (E).
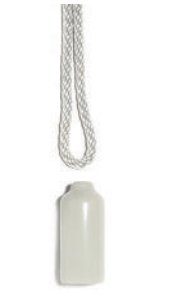
A
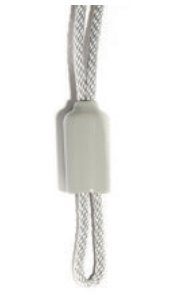
B
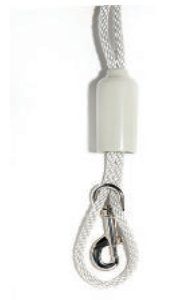
C
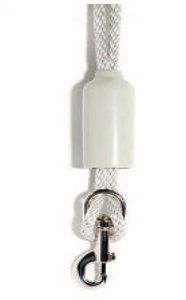
D
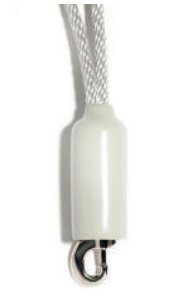
E